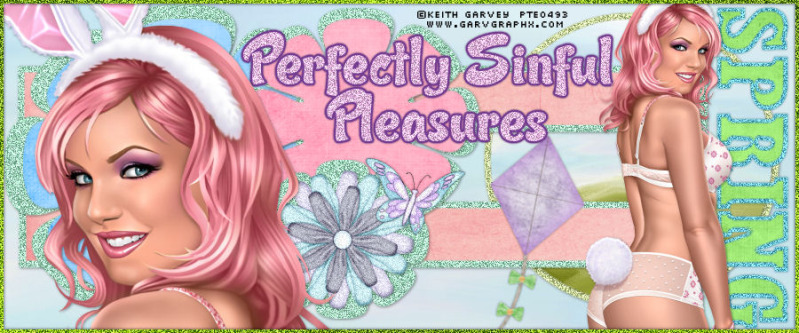
Peace's Tutorial - TEAM "Sinfully Addicted Designers"
Page 1 of 1

Peace's Tutorial - TEAM
![]() by Peace Thu Apr 08, 2010 9:36 pm
by Peace Thu Apr 08, 2010 9:36 pm
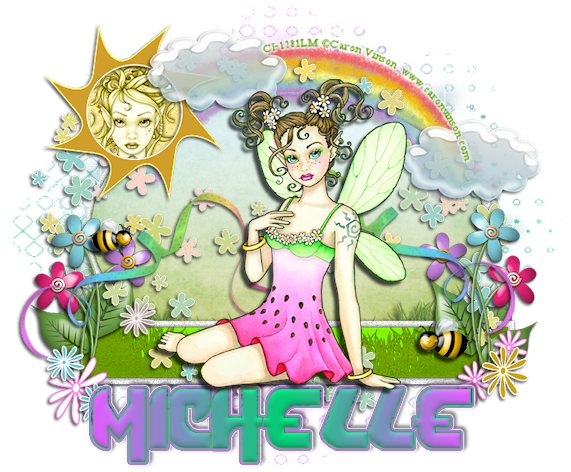
Spring Blossoms
Supplies needed:
2 Tubes of choice
I am using Caron Vinson you can purchase Here
Scrap kit “HAPPY DAY” from Jaelop Designs Here
Template By Scrapin Designs
You can download here
Mask: AR315_Masks_049 you can find here on AguaRebels blog
Font: of choice - I used Dafunk > here
Plugin: EyeCandy 4 - Gradient Glow
Ok lets get started:
Open the Template
Open NEW Image
Copy and paste Template into your NEW image pallete.
Close original. Delete credit, click on bottom layer, flood fill white
Click on the white rectangle add Noise
Settings: Gaussian 45, Monochrome checked
Click on white oval add the same noise effect.
Add drop shadow of choice
Using magic wand click inside of top oval shape
Go to Selection> Modify> Expand by 3
Open paper3 resize 18, Paste as new layer
Selection> Invert> hit delete> Deselect.
Copy and paste tube resize and position to your liking.
Add drop shadow
Using magic wand click inside of top rectangle shape
Go to Selection> Modify> Expand by 3
Open element 20 resize 18, Paste as new layer above top rectangle
Duplicate this element move below bottom rectangle
Back to first element layer
Selection> Invert> hit delete> Deselect.
Add drop shadow of choice and merge down.
On Sun Shape change color to a color from your tube.
On the small circle > colorize to a shade from your tube
Go to Effects > Artistic Effects > Halftone
Settings: Pattern: Circle – Size: 4 – Screen Angles: 1. 42 2. 32 3. 74
Use as Overlay box checked – Luminance (legacy) Opacity 20
Using magic wand click inside of top small circle
Go to Selection> Modify> Expand by 3
Add 2nd tube. I used just the head of this tube.
Selection> Invert> hit delete> Deselect.
Copy and paste tube resize and position to your liking.
Add drop shadow
Open Element 5, 10, 21a, 22, 23, 41 & 43
Resize copy and paste in to your image
Position to your desire, drop shadow of choice
See my tag for positioning.
Add New Layer
using 2 colors from tube to make a gradient
or a rainbow gradient flood fill New layer
Open mask> right click on paper layer> New Mask Layer
From image> Source Luminance apply
Right click on mask image> merge group.
Add Copy Right
Add Name
Add 3D Image> Inner Bevel>
Settings > Bevel shape 2, width 8 > Smoothness 4 > Deepth 1 >
Ambience 0> Shiness 24 > Color white > Angel 0 > Intensity 38> Elevation 42
Effects > Plugins > Eye Candy 4 Gradient Glow
Settings > BASIC: 5.27, 0, 51, 100,
COLOR: Rainbow changing the colors of each box to match the colors in you tag
(click on each of the tiny little boxes tochange colors) ending with the white in the last box.
Add a drop shadow of choice.
Go to Image> resize by 86
Save
I hope you enjoyed my tut.
Thank you, Peace
This Tutorial Copy Right compliant.
Please besure to give proper credtit to those who share their talent with us.
This tutorial was written on April 8, 2010 any resemblance to any other tutorial is purely coincidental.

Peace- Admin

- Posts : 665
Join date : 2009-09-18
Age : 58 -

» Liana's Tutorial (Team Sinfully Addicted Designers)
» Chelle's Tut - Team "A Very Kinky Crew"
» Luna's Tutorial - KLUB DEZINES
» Dianne's Sinfully Hot Rules!-----Revised 10/29
» Tutorial Terms of Use
» Chelle's Tut - Team "A Very Kinky Crew"
» Luna's Tutorial - KLUB DEZINES
» Dianne's Sinfully Hot Rules!-----Revised 10/29
» Tutorial Terms of Use
Page 1 of 1
Permissions in this forum:
You cannot reply to topics in this forum|
|
|